This appendix shows how to get started with using Julia. The recommended way is first to install julia as described in Subsection A.1.1. Then follow the steps in Subsection A.1.3 to install Visual Studio Code, an open-source text editor.
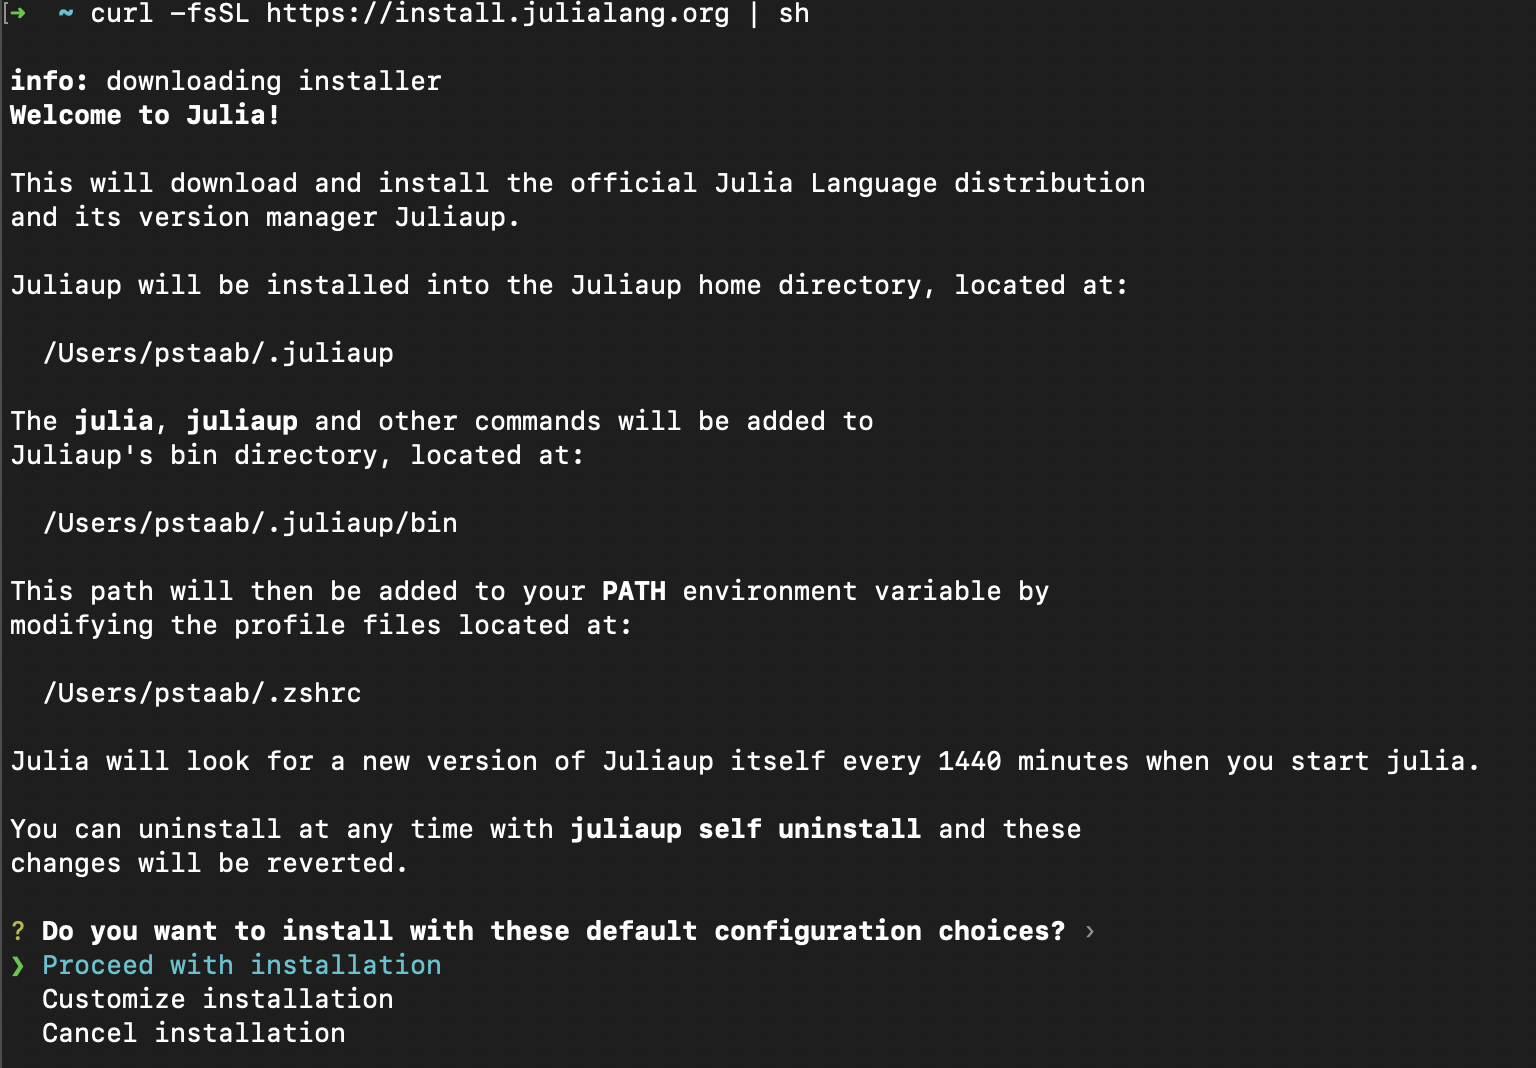
At the top of the main Julia website, click the green Download button, taking you to the downloads page. At the top of this page, you will get a single line to copy paste into Terminal (MacOS or Linux) or PowerShell in Windows. This will install a nice tool called juliaup which is a program that can update julia. Note that all of the commands were run on a Mac (with a M1 chip) in fall 2025. If you run these commands on a different platform at a different time, your results may vary a bit, including the versions that are out at the time.
Now installing Juliaup
Checking for new Julia versions
Installing Julia 1.12.0+0.aarch64.apple.darwin14
Checking standard library
notarization.............................................................done.
Configured the default Julia version to be 'release'.
Julia was successfully installed on your system.

Depending on which shell you are using, run one of the following
commands to reload the PATH environment variable:

  . /Users/XXXXX/.zshrc
although the default version might be different. There may be instructions to ensure that your system path is set up correctly. Follow the details at the end of the installation process before continuing. Each environment may be a bit different and the install script should detect it correctly and give you the right answers.
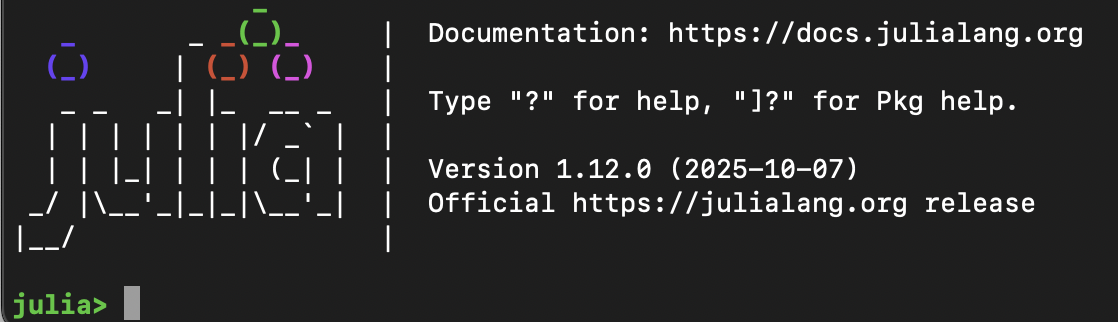
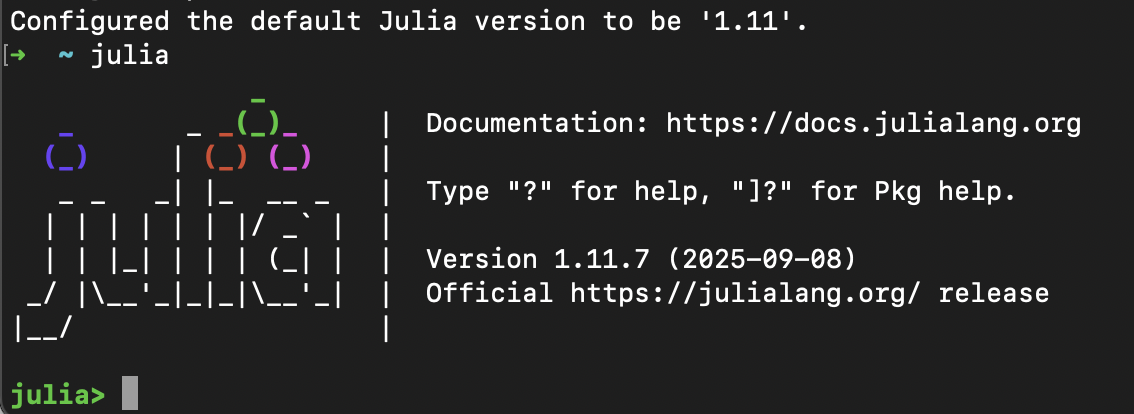
You can open the julia REPL (explain in detail below) by typing julia on the command line of Terminal or PowerShell. You should see something like the following.
Try 2+2 and hit ENTER. You should see 4 and you’re off and running. Although this is way to run julia, it generally isn’t the way most people use it and the next section will show this. Also, the juliaup tool is a powerful way of managing more than one julia version or upgrading your current one. See Subsection A.1.8 for more information.
Managing packages will be discussed in depth in Section A.2, but one is needed before we do the next step. Open the REPL by typing julia in a Terminal (on the Mac) or PowerShell (on a window machine). Enter the following two lines: 1
This package allows an interactive (that’s the "I") julia session to be established. If there were no errors, you can exit out of Julia at this point with CTRL-D.
A nice environment to run Julia in an interactive manner is Visual Studio Code, often shortened to VScode. If you haven’t installed the IJulia package described in the section above, that should be done before installing VScode.
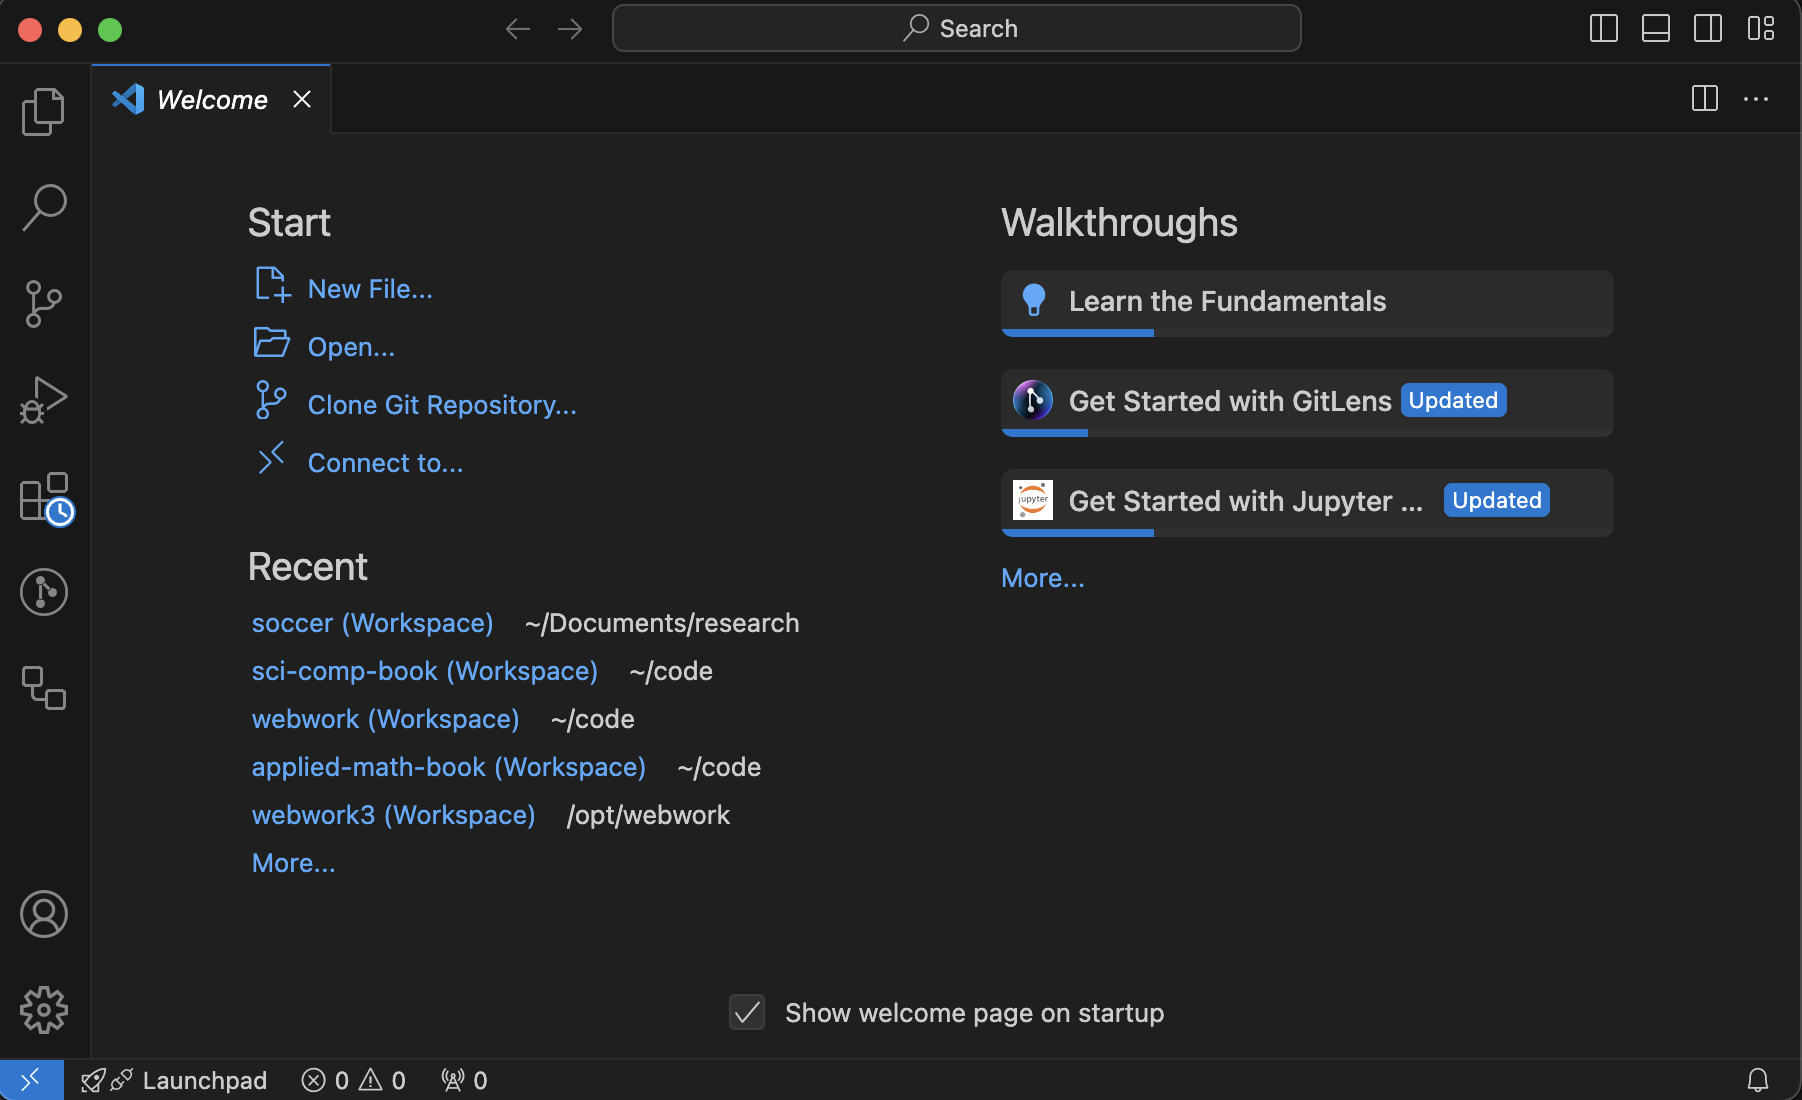
Visual Studio Code is an open-source text editor/integrated development environment (IDE) that has capability of handling many different languages. The download and install is quite simple in that you should visit the VScode website, click the Download button and install the standard way for your platform. Opening the app, you should see something that looks like
Since VSCode works with files on your local computer, it is fundamental to have a folder that VScode works from. You should have or create a folder that is a project. If you don’t have one currently, use the Finder (MacOS) or Explorer (Windows) to create one inside your Documents folder called My Project. Next, in VScode, go to File, Add Folder to Workspace... and navigate to the folder you just made. You will be asked if you trust this folder.
Although you can use VScode to access the REPL or write files written in Julia, it’s most powerful and flexible by running a notebook file. To do this there are two ways to start a file:
Another way to start a file is to click on the top left sidebar button that looks like two file icons. Create a new file inside the project by selecting the directory that you want it to go in. (If nothing is selected it will go in the top-level). Hover over the name of the project and click the icon that looks like a file with a +. It will make a new file which you should name like test.ipynb.
Next, in the upper right corner, you should see "Select Kernel". In this case, select the Julia 1.12 kernel if you installed that. If not, select one that was installed.
In the cell, enter 2+2 or some simple calculation. Click the triangle (play button) or hit SHIFT-ENTER and this will evaluate the cell. You should see the following:
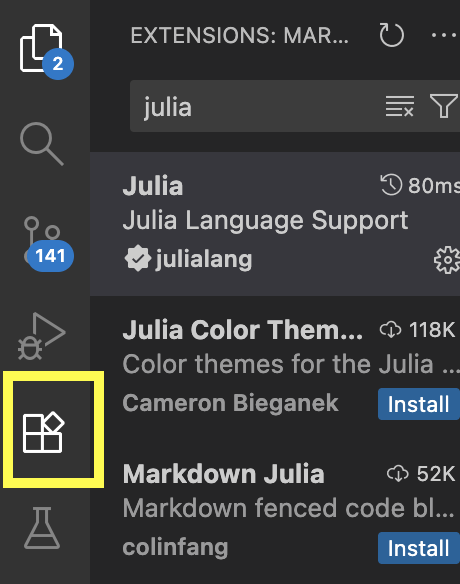
VScode takes on other functionality with extensions. To install a new extension click the four boxes (with the upper right one askew) and there is a box at the top for Search Extensions. Enter julia here as shown:
When you create a new jupyter notebook (those with a .ipynb suffix), you are making a julia interactive notebook. In short, this file format mixes text and code together and is quite easy to use and share with others.
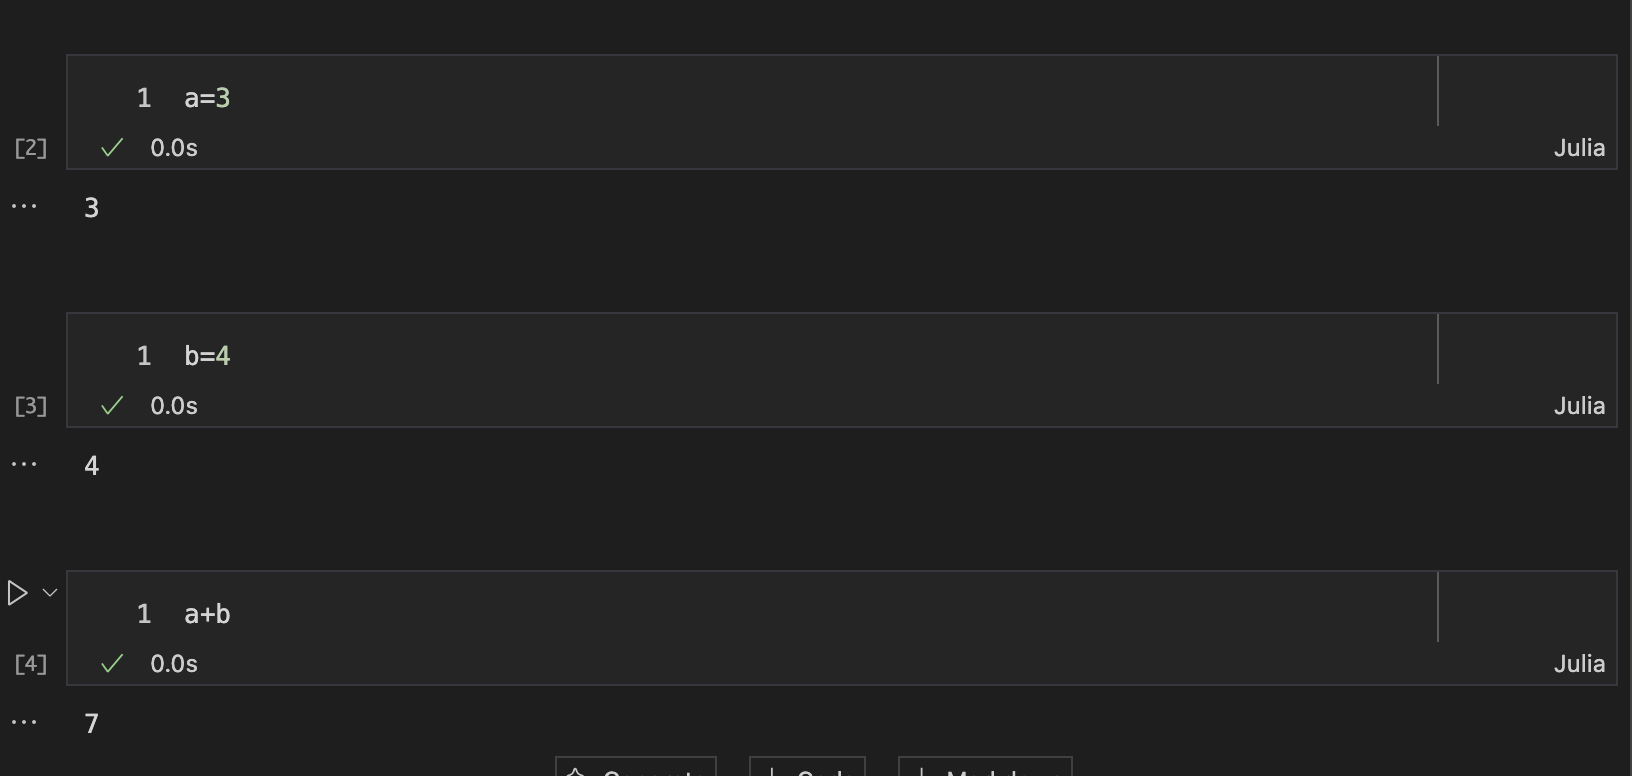
In an empty cell enter a=3, hit SHIFT-ENTER and then in a blank cell, enter b=4 and then SHIFT-ENTER. In yet another blank cell, enter a+b and you should see 7. Visually, this should look (this is in dark mode) like:
Notice that each cell has a number in [ ]. This is the order that the cells were evaluated and can help with troubleshooting. The green check indicates that the cell has been run successfully.
You can evaluate cells in different order and go back and rerun cells. Try switching the top cell to a=9, re-evaluate it, then re-evaluate the bottom cell and the output should be 13.
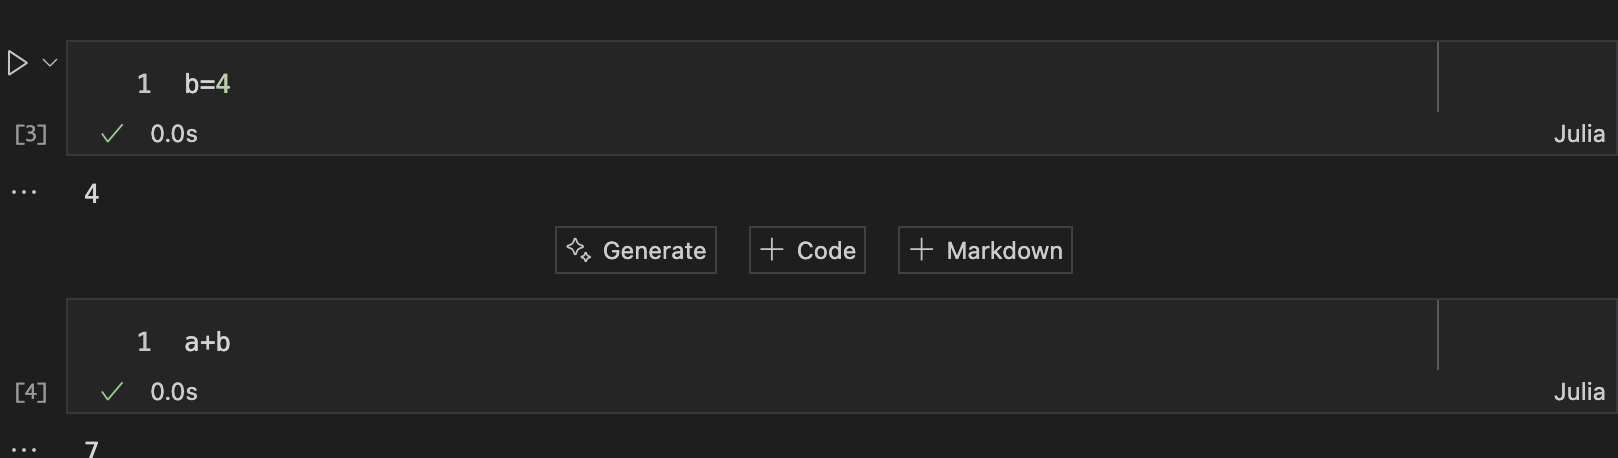
The + Code button adds a new cell that has code style, where the code language corresponds to the current kernel, which we selected when we first opened the file.
The + Markdown will make a Markdown cell. This is very useful for entering text, mathematics or other code that you don’t want to run. This will be explain below.
There are a number of keyboard shortcuts that can be done on a highlighted cell. This page has quite a few helpful ones. The page discusses jupyter notebook and jupyter lab (which is independent of VScode), but should work the same way.
Although once you get everything set up, performing some actual work (mathematics) is easier to do in a jupyter notebook, there are times that the REPL can be helpful. You can either open it up in Terminal (MacOS) or PowerShell (Windows), or directly in VScode.
SubsubsectionA.1.6.1Opening a Julia REPL in VScode
The Julia REPL is where you enter single julia statements. A REPL is short for Read-Eval-Print-Loop and is often a interpretative shell where you can enter commands in some language. To get started, click on the REPL in VScode, either go to Terminal, new Terminal or CTRL-` or CMD-J. This starts up julia and you should see:
We will enter a few commands to get started. All julia commands throughout the book will be written in a monospace font and it is a good idea to type along at the same time.
Enter a=2 at one prompt and b=3 at another prompt. You will see the response of 2 and 3 as well. Now enter a+b in a prompt and you should see the result 5.
SubsubsectionA.1.6.2Opening a REPL in Terminal or PowerShell
Alternatively, if you just want julia running and don’t need the full VScode environment, use Terminal (on MacOS) or PowerShell (on windows). Generally search for these programs to open them or find the icon.
With the discussion about running Julia in this chapter, there are two main ways that we have discussed passing commands to Julia: using the REPL and using a jupyter notebook in VScode.
In many ways, julia is a program like any other that you run on your computer, however because of the nature of it parsing statements and then giving output, you have to think about it a bit differently. When you start julia, we often will say that you are starting the kernel, which is a basic state which you can feed variables and statements to julia and get output. In both the REPL and a jupyter notebook, there are statements sent to a program (the kernel) and there is a response.
The REPL is actually a simple interface to the kernel in which the commands and output appear on consecutive lines of the window. In contrast, the jupyter notebook separates the input into cells and the output below each cell. As we well see, the output can also contain plots and scrollable tables in a jupyter notebook.
The kernel stores variables, functions and modules in memory and accessing the variables with commands will, in short, answer the questions you’re interested in solving. The kernel doesn’t have a way of removing variables, functions or modules, whereas often we will need to do so. The best way is to restart the kernel, which basically means to shut down julia and restart. It depends on how this you run julia.
SubsubsectionA.1.7.1Restarting the Kernel in the julia REPL
This is probably the simplest. If you opened julia by launching the app by double-clicking an icon, just close the window and you stop the program. Note: you lose everything that you have done, which is another reason why I don’t use this often. Then restart by reopening julia.
SubsubsectionA.1.7.2Restarting the Kernel in VScode
To restart the kernel in VScode click the Restart button at the top of the document. Unfortunately there is not indication that anything happens, but reevaluating a cell should indicate that it has been restarted. Note that the cells are numbers and should restart at 1.
We used the problem juliaup install julia on a machine. Short for “julia update”, it is a script that helps you install and update julia. We can check what version of julia is running with juliaup status and after the install as above, we get: 2
Recall that this section of the text was updated in Fall of 2025. If you are reading this at a later date, your install version may differ.
This shows all of the channels/versions that are installed and the * shows that the release channel (official current version). As is common with software that manages versions, there are different channels available for julia. We saw above that by default we installed the release channel. This one is that julia developers feel is the current release.
This channel is the version of julia that is almost ready to be released. It is often used for developers to test their packages or other users to test new features of a version.
For users that need a very stable version of julia, the lts or long-term support channel is useful. This version will often be quite stable and only get bugfixes over it’s lifetime.
and this shows that there is now a 1.11 channel and the release channel is still default. Note that there is no update. If there was, you would see what version was available. There are many other versions and channels available. If you want to include the beta channel to see what’s coming out next. If you enter juliaup add beta and check the status then
 Default  Channel  Version                          Update
--------------------------------------------------------------------------------------------------------
          1.11     1.11.7+0.aarch64.apple.darwin14
          beta     1.12.0+0.aarch64.apple.darwin14  Update to 1.12.1+0.aarch64.apple.darwin14 available
       *  release  1.12.0+0.aarch64.apple.darwin14  Update to 1.12.1+0.aarch64.apple.darwin14 available
Where notice that there is something in the update column then that channel can be updated. If this is the case, then juliaup update will update any channel to the current version in that channel. The output will download and do some checking. Here’s some possible output:
Checking for new Julia versions
Updating channel release
Installing Julia 1.12.1+0.aarch64.apple.darwin14
Checking standard library notarization.................................................
Precompiling packages  ╺━━━━━━━━━━
Precompiling SuiteSparse finished.
  1 dependency successfully precompiled in 2 seconds
............done.
Updating channel beta
Removed Julia 1.12.0+0.aarch64.apple.darwin14
SubsubsectionA.1.8.3Running a particular version of Julia
If we run julia, as shown above, then we should get the 1.12 version. Remember to use CTRL-D to get out of it. If instead, we want to switch to the 1.11 version, then juliaup default 1.11. After doing this, entering julia should show:
The feature of running more than one julia version is perhaps most helpful for developers of packages so they can be able to test their code in different versions of julia. However, I sometimes am interested in new features and jump on beta versions to play with these features.